Summary
For this module, the goal was to produce and post a video montage with narration. The readings and research focus on how to best edit a video, along with the different methods to cut clips. I enjoy different types of editing, so I was excited to learn more about how I can incorporate the methods of editing into my work.
Reading and Writing
To go along with the module, the readings for this week focused on the art of editing. In The Bare Bones Camera Course for Film and Video, Schroeppel covers the basics of video editing. The first step is logging all the material you have shot and categorizing them in a specific way. This will help with the paper edit, where you physically lay out the material to know how much material you have. From there, it will help with the editing to know what you do and don’t have.
The job of an editor is to help the viewer understand what they are looking at and what they should get from each of the clips. An establishing shot helps the viewer know where they are in the video. Editing is also responsible for keeping the viewer watching, especially when there is a constant battle for attention from other means of entertainment. Making each cut different from the previous cut keeps the viewer’s attention than cutting from similar clips.
Another important aspect to consider during the editing process is the pacing of the edit. A poor pace to a video can be a dull slow edit or too fast-paced so that the viewer gets lost and doesn’t understand what is going on. In An introduction to pacing and rhythm, Apfelbaum goes over the importance of pacing and what it can do to the emotions of a scene. A fast pace can heighten the tension of the scene, while a slower pace can keep the audience more invested in the scene.
An editor has a variety of ways to cut a scene. In 13 Creative Editing Techniques Every Video Editor Should Know, McAfee covers a variety of methods one can use to cut a scene. Examples of each of the methods include:
1. Standard Cut – Joining two clips together without any effects.
2. Jump Cut – A cut where time moves forward.
3. Montage – Cutting multiple clips back to back to condense time in the film.
4. Cross Dissolve – An effect where one clip dissolves into the next.
5. Wipe – An effect where one clip is wiped away into the next.
6. Fade In/Out – One clip is faded into the next. The most prominent way is to fade to white or black.
7. J or L Cut – A J cut is when the audio from one clip fades in while we are seeing another clip. The L clip is the opposite, where the audio continues while we are seeing the new clip.
8. Cutting on Action – To heighten the intensity, cutting on action can make the action more effective than on a more static shot.
9. Cutaway Shots – Cutting away to detail or another character in the scene.
10. Cross Cut – Cutting between two different scenes that are happening at the same time.
11. Match Cut – Cutting at something specific that connects the two clips.
12. Smash Cut – Making a hard cut for effect.
13. Invisible Cut – Cutting in a way that hides the cut to feel like the cut never happened.
In addition to the visual, editing for sound is also important. Background music can add emotional weight that was not there in the clip. When editing sound, it is important to separate the audio tracks so they can all come across smoothly.
While not as revered as the director or producer, an editor is the most important role in developing the emotional weight of a scene. Without them, there is no one in place to keep the pacing of a scene tight and flowing.
Research
In addition to the readings, I found some examples of different ways to edit. These clips range from prominent film openings to independent television, but they all are successful with how they edit.
Tim and Eric Awesome Show Great Job! – Prices
Tim and Eric Awesome Show Great Job! is known for its surrealist comedy, but what makes the style is the editing. This clip, from the sketch Prices, shows how well this manic style of editing can work this way. While the clips are technically the same, what makes them feel different is the wild effects that are layered on top of each other.
Shaun of the Dead
Last week I highlighted how well Edgar Wright visualizes scenes in his films, but another highlight is the editing. This scene, from Shaun of the Dead, is a mix of a montage cut and smash cut of a man getting ready for work. Even though the visuals are something trivial like brushing your teeth or putting the milk back in the fridge, the way each of the clips is cut makes them feel more impactful.
Reservoir Dogs – Opening
The opening to Reservoir Dogs is well done in how it edits visuals to music. The visuals are done in slow motion, to make the characters feel suaver and so that the audience can remember them before the plot begins. The cuts are also done in time with the music, which makes it feel more in sync as a whole.
Create
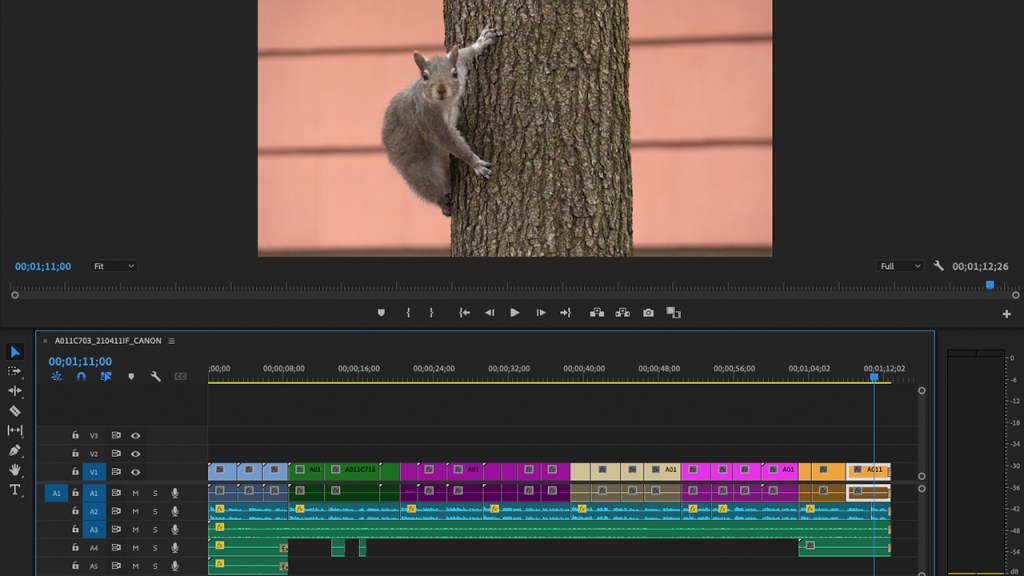
For this week, I decided to do a visual montage highlighting different ways to pass time while in quarantine. This video includes clips I shot around my apartment, along with narration, background music, and sound effects.
I made an effort to keep all the shots done on a tripod, as well as keeping it steady. I included one pan, but besides that all the shots are steady. There are also a variety of shots to vary the visual compositions. For the editing, I mostly followed the standard cuts as to not have the style take away from the message.
Works Cited
Apfelbaum, S. (2013, September 26). An introduction to pacing and rhythm. Dissolve. https://ideas.dissolve.com/tips/an-introduction-to-pacing-and-rhythm.
McAfee, R. (2020, April 7). 13 creative editing techniques every video editor should know. https://blog.pond5.com/11099-13-creative-editing-techniques-every-video-editor-should-know/.
Schroeppel, T. (2018). The Bare Bones Camera Course for Film and Video. Langara College.

Leave a comment